5-Ingredient Cherry Pie Bars – Easy & Delicious!
When it comes to desserts that hit the sweet spot between effortless and absolutely scrumptious, Cherry Pie Bars take the crown.
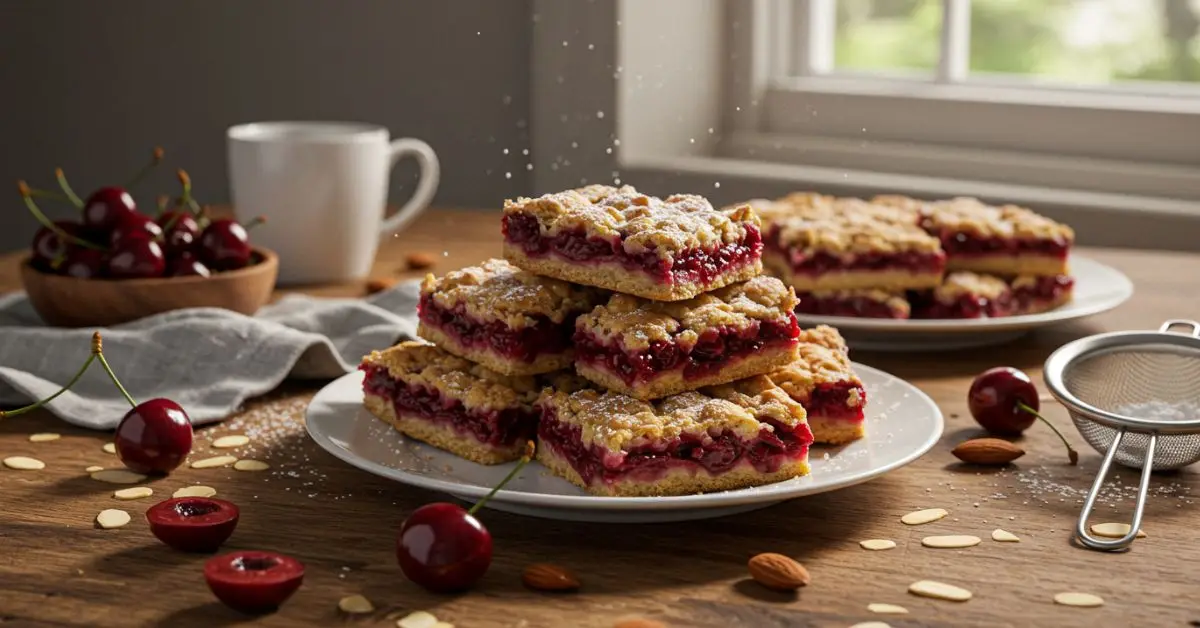
With only five ingredients, this recipe delivers all the wholesome goodness of cherry pie baked into portable, sharable, and bite-sized bars.
The balance of buttery crust, gooey cherry filling, and crumble topping makes these bars perfect for holidays, parties, or even a weekend treat. Whether you’re a seasoned baker or a total newbie, this recipe is as foolproof as it gets.
By the end of this guide, you’ll have all the know-how to create soft, fruity, and golden Cherry Pie Bars that are guaranteed to become a household favorite.
We’ll go over tips, variations, and ways to serve your bars so they’ll look as good as they taste!
Why You’ll Fall in Love with Cherry Pie Bars
Cherry Pie Bars are everything you crave in a dessert built into a convenient square.
They’re easier to put together than a traditional pie but don’t skimp on flavor. Plus, they store like a dream, so you can bake them ahead and enjoy them throughout the week.
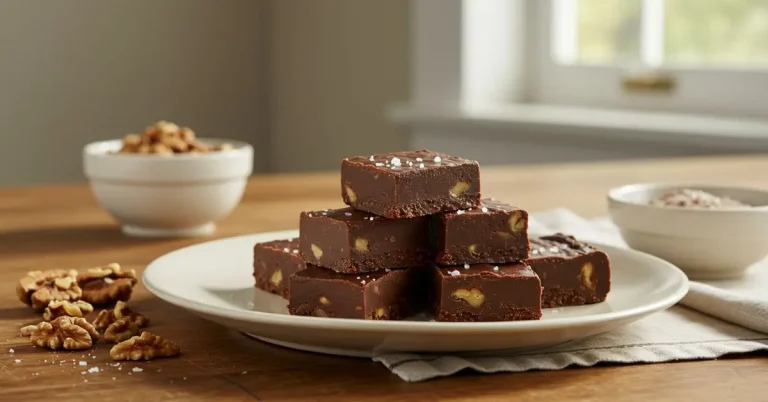
Pair them with Paula Deen’s 5-Minute Fudge or serve alongside Peach Cobbler Egg Rolls for a decadent dessert spread.
These bars are also versatile—perfect for BBQs, potlucks, or just cozy nights in. They certainly pack a punch without packing much effort!
Ingredients List

What You’ll Need
This quick recipe calls for just five pantry staples. Keep it simple and sweet with:
- 2 cans (21 oz each) cherry pie filling
- 1 box yellow cake mix (15 oz)
- 2/3 cup unsalted butter, melted
- 2 large eggs
- 1 teaspoon vanilla extract
Optional Garnish
- Powdered sugar for a picture-perfect finish
Picture This: A can of vibrant cherry pie filling on your counter, a golden cake mix bag ready to pour, and the heavenly smell of vanilla swirling in your kitchen. These ingredients are humble, but they cook up into the kind of treat you won’t stop nibbling on.
Substitutions and Variations
Switch Things Up
Recipes this quick and simple always allow room for a little creativity. Here are some fun ways to mix it up:
- Fruit Swaps: Swap cherry filling for blueberry, apple, or even peach for different flavors. Need some peach inspiration? Check out our recipe for Peach Cobbler Egg Rolls for a twist.
- Make It Gluten-Free: Use a gluten-free yellow cake mix to make these bars accessible to everyone.
- Toppings Galore: Top with slivered almonds or white chocolate chips before baking for added crunch and sweetness.
- Creamier Texture: Swirl a layer of cream cheese into the bars before adding the filling for a tangy twist.
- Zesty Upgrade: Add a hint of lemon zest for a citrusy aroma to complement the cherries.
You can also find fun dessert ideas like Amish Baked Custard to use as inspiration for creating a unique twist!
Picture This: Two trays of Cherry Pie Bars—one dusted with powdered sugar and the other drizzled in a sweet cream cheese glaze—making it impossible to pick a favorite!
Step-by-Step Cooking Instructions
How to Make Cherry Pie Bars
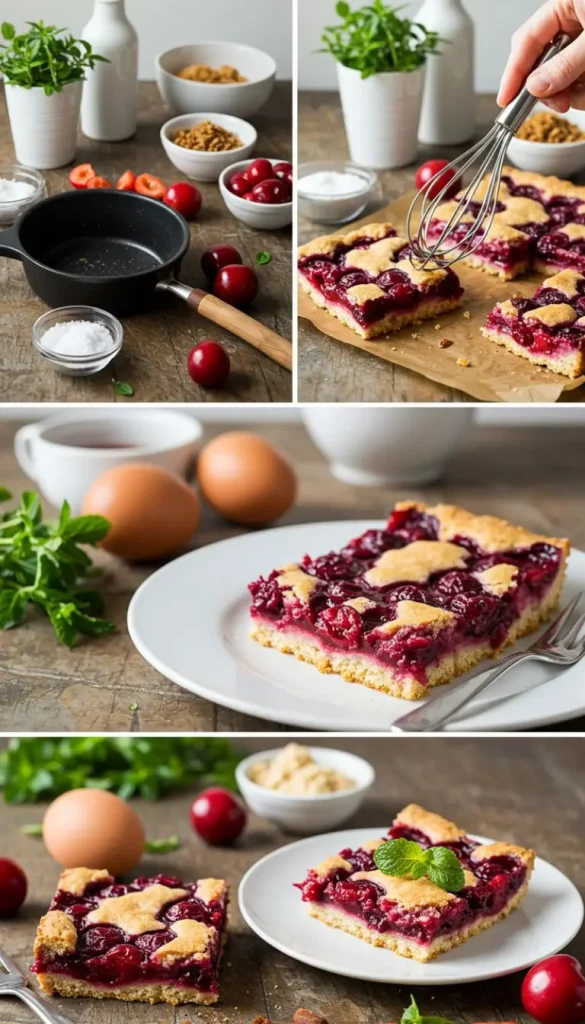
Even if you’re not a regular baker, these bars are incredibly easy to assemble. Here’s the breakdown:
- Preheat and Prep: Preheat your oven to 350°F (175°C). Grease a 9×13-inch baking dish with butter or cooking spray.
- Mix the Crust and Topping: Combine the cake mix, melted butter, eggs, and vanilla in a mixing bowl. Beat until a soft dough forms.
- Layer It: Press two-thirds of the dough evenly into your prepared baking dish to form the bottom crust.
- Add the Cherry Filling: Spread the cherry pie filling evenly on top of the crust layer.
- Crumble It: Take the remaining dough, crumble it into pieces, and scatter it across the cherry filling.
- Bake to Perfection: Pop the dish into the oven and bake for 35-40 minutes or until the top is golden brown and the filling is bubbling.
- Cool and Serve: Allow to cool completely before cutting into squares. Dust with powdered sugar just before serving if desired.
Picture This: A tray of freshly baked Cherry Pie Bars cooling on the counter, their golden crusts glistening just enough to tempt you into sneaking one before they’ve even cooled.
Common Mistakes to Avoid
Make Them Flawless
Even an easy recipe comes with potential pitfalls. Avoid these common mistakes for perfect baking:
- Rushing the Cooling: These bars need to cool completely so they set properly—don’t rush it, or you’ll end up with a gooey mess.
- Overloading the Filling: Too much cherry filling can make the bars soggy or spill over, so stick to the recommended amount.
- Uneven Layers: Pressing the dough too thin in some sections can lead to burnt edges or an uneven texture.
- Skipping Grease: Make sure to grease your dish to avoid any major sticking mishaps.
For more pro-tips on baking, check out our guide to foolproof desserts with recipes like Air Fryer Apple Pie Bombs to step up your cooking confidence!
Picture This: A flawless grid of Cherry Pie Bars cooling on parchment paper—no sticky edges, no burnt corners, just perfectly golden morsels waiting to be devoured.
Serving and Presentation Tips
Dress Up Those Cherry Pie Bars
- Plated with Flair: Dust with powdered sugar for a bakery-style finish or drizzle with white icing for added sweetness.
- Elegant Pairings: Serve with a scoop of vanilla or cherry ice cream for the ultimate indulgent combo.
- Mini Dessert Bars: Cut them into smaller square bites and add to a tray with Coconut Custard Pie for a dessert buffet.
- DIY Toppings Bar: Set up toppings like whipped cream, chocolate chips, and fresh cherries for a fun make-your-own bar.
Picture This: A pretty wooden tray filled with Cherry Pie Bars, surrounded by bowls of whipped cream and berries for self-serve fun. Your dessert setup will be the talk of the gathering.
Frequently Asked Questions (FAQs)
You’ve Got Questions, We’ve Got Answers
- Can I make these ahead of time?
Yes! Bake them the day before and store in an airtight container in the fridge for up to 3 days. - Can I freeze them?
Absolutely. Wrap individual bars in plastic wrap and store in a freezer bag for up to 2 months. - How do I reheat them?
Warm individual portions in the microwave for 10-15 seconds. If you want them crispy, pop them in the oven instead. - Can I use homemade pie filling?
Totally! Homemade cherry pie filling works beautifully if you have the time to prepare it.
Picture This: Your dessert spread featuring warm Cherry Pie Bars, a dollop of ice cream lovingly melting over the top, perfectly complemented by enthusiastic guests coming back for seconds.
A Sweet Treat You’ll Crave
Why You’re Going to Make These Bars Again and Again
With their effortless recipe and crowd-pleasing flavor, these 5-Ingredient Cherry Pie Bars are a bake-once, love-forever dessert.
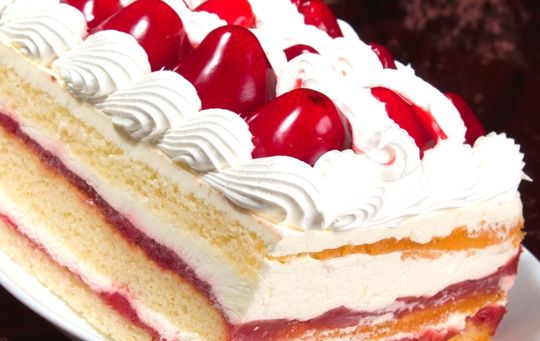
They’re simple, satisfying, and endlessly adaptable to your creativity. Pair them with other easy desserts like Strawberry Cake or serve alongside savory dishes to leave your friends and family marveling at your culinary skills.
Next time you’re craving something sweet but short on time, give these bars a try—you won’t regret it!